Determined AI
This page documents how to manage and use a Determined AI cluster for running experiments.
Installing Determined CLI
python3.9 -m venv dvenv    # create virtual environment - only need to do once
source dvenv/bin/activate  # connect to virtual environment - will do this every time
pip install determined     # install cli client bits - only need to do once (unless changing versions)
Check the Determined version:
(dvenv) [ccarlson@mlds-login ~]$ det version
client:
  version: 0.24.0
master:
  cluster_id: fcef5677-7415-4cbf-8d1d-a548cc140652
  cluster_name: mlds-hou-det
  master_id: 26ac5d72-6486-4069-96e2-270a72f9d606
  sso_providers: null
  telemetry:
    enabled: false
    otel_enabled: false
    otel_endpoint: ''
  version: 0.24.0
master_address: 10.182.1.43
Set the DET_MASTER environment variable for your shell:
export DET_MASTER=<master IP>Login to Determined
You’ll need to login to your Determined user to start using the cluster.
det user login <username>You’ll be prompted for your password, and will be logged in thereafter.
You can logout using det user logout.
Experiments
Use det experiment list to list all the experiments that your user has launched recently. Example:
(dvenv) [ccarlson@mlds-login ~]$ det experiment list
   ID | Owner    | Name                      | Parent ID   | State     | Progress   | Started                  | Ended                    | Resource Pool
------+----------+---------------------------+-------------+-----------+------------+--------------------------+--------------------------+-----------------
 2159 | ccarlson | mnist_pytorch_distributed |             | COMPLETED | 100.0%     | 2023-08-21 19:13:24+0000 | 2023-08-21 19:14:03+0000 | T4
 2160 | ccarlson | mnist_pytorch_distributed |             | COMPLETED | 100.0%     | 2023-08-21 19:17:04+0000 | 2023-08-21 19:17:25+0000 | T4
 2162 | ccarlson | mnist_pytorch_distributed |             | COMPLETED | 100.0%     | 2023-08-21 19:22:20+0000 | 2023-08-21 19:22:51+0000 | T4
 2163 | ccarlson | mnist_pytorch_distributed |             | COMPLETED | 100.0%     | 2023-08-21 19:23:21+0000 | 2023-08-21 19:23:51+0000 | T4
 2164 | ccarlson | mnist_pytorch_distributed |             | CANCELED  | 0.0%       | 2023-08-21 19:31:49+0000 | 2023-08-21 19:35:27+0000 | T4
Workspaces
List the workspaces you’re a member of using det workspace list:
(dvenv) [ccarlson@mlds-login mnist_pytorch]$ det workspace list
   ID | Name    |   # Projects | Agent Uid   | Agent Gid   | Agent User   | Agent Group   | Default Compute Pool   | Default Aux Pool
------+---------+--------------+-------------+-------------+--------------+---------------+------------------------+--------------------
   27 | Storage |            1 |             |             |              |               |                        |
In our example above, we’re a member of the Storage workspace.
Projects
List the projects you’re a member of using det project list <workspace>, and providing the workspace name.
(dvenv) [ccarlson@mlds-login mnist_pytorch]$ det project list storage
   ID | Name            | Description   |   # Experiments |   # Active Experiments
------+-----------------+---------------+-----------------+------------------------
   57 | StorageProjects |               |               5 |                      0
In our example above, we’re a member of the Storage workspace, and have access to the StorageProject project.
Run Your First Experiment
In this short guide we’ll cover getting started running a basic PyTorch MNIST classification training/validation experiment on your distributed Determined cluster.
Where you have your CLI installed and your Python virtual environment activated, download the example MNIST experiment tarball, untar it, and move into the untarred directory.
wget https://docs.determined.ai/latest/_downloads/61c6df286ba829cb9730a0407275ce50/mnist_pytorch.tgz
tar -xzvf mnist_pytorch.tgz
cd mnist_pytorch
You should have the following files:
adaptive.yaml
const.yaml
data.py
dist_random.yaml
distributed.yaml
layers.py
model_def.py
README.md
distributed.yaml is the distributed experiment configuration file. Out of the box, this is what’s in it:
name: mnist_pytorch_distributed
data:
  url: https://s3-us-west-2.amazonaws.com/determined-ai-test-data/pytorch_mnist.tar.gz
hyperparameters:
  learning_rate: 1.0
  global_batch_size: 512
  n_filters1: 32
  n_filters2: 64
  dropout1: 0.25
  dropout2: 0.5
resources:
  slots_per_trial: 8
searcher:
  name: single
  metric: validation_loss
  max_length:
      batches: 117  #60,000 training images with batch size 512 (batch size 64 per GPU)
  smaller_is_better: true
entrypoint: model_def:MNistTrial
We’ll want to make some changes to this in order to be able to actually run the experiment.
Namely, the workspace and project will need to be specified in the configuration file, otherwise, we will not be able to submit the job to the master. Add these values to the end of the file
workspace: <WorkspaceName>
project: <ProjectName>
In our case, we’ll be using our Storage workspace and StorageProject project, so we’ll use the following YAML file:
name: mnist_pytorch_distributed
data:
  url: https://s3-us-west-2.amazonaws.com/determined-ai-test-data/pytorch_mnist.tar.gz
hyperparameters:
  learning_rate: 1.0
  global_batch_size: 512
  n_filters1: 32
  n_filters2: 64
  dropout1: 0.25
  dropout2: 0.5
resources:
  slots_per_trial: 8
searcher:
  name: single
  metric: validation_loss
  max_length:
      batches: 117  #60,000 training images with batch size 512 (batch size 64 per GPU)
  smaller_is_better: true
entrypoint: model_def:MNistTrial
workspace: Storage
project: StorageProjects
You can now create/submit the experiment to the cluster:
(dvenv) [ccarlson@mlds-login mnist_pytorch]$ det experiment create distributed.yaml .
Preparing files to send to master... 9.5KB and 8 files
Created experiment 2191
Navigate to your project dashboard in a browser, and you should see your experiment:

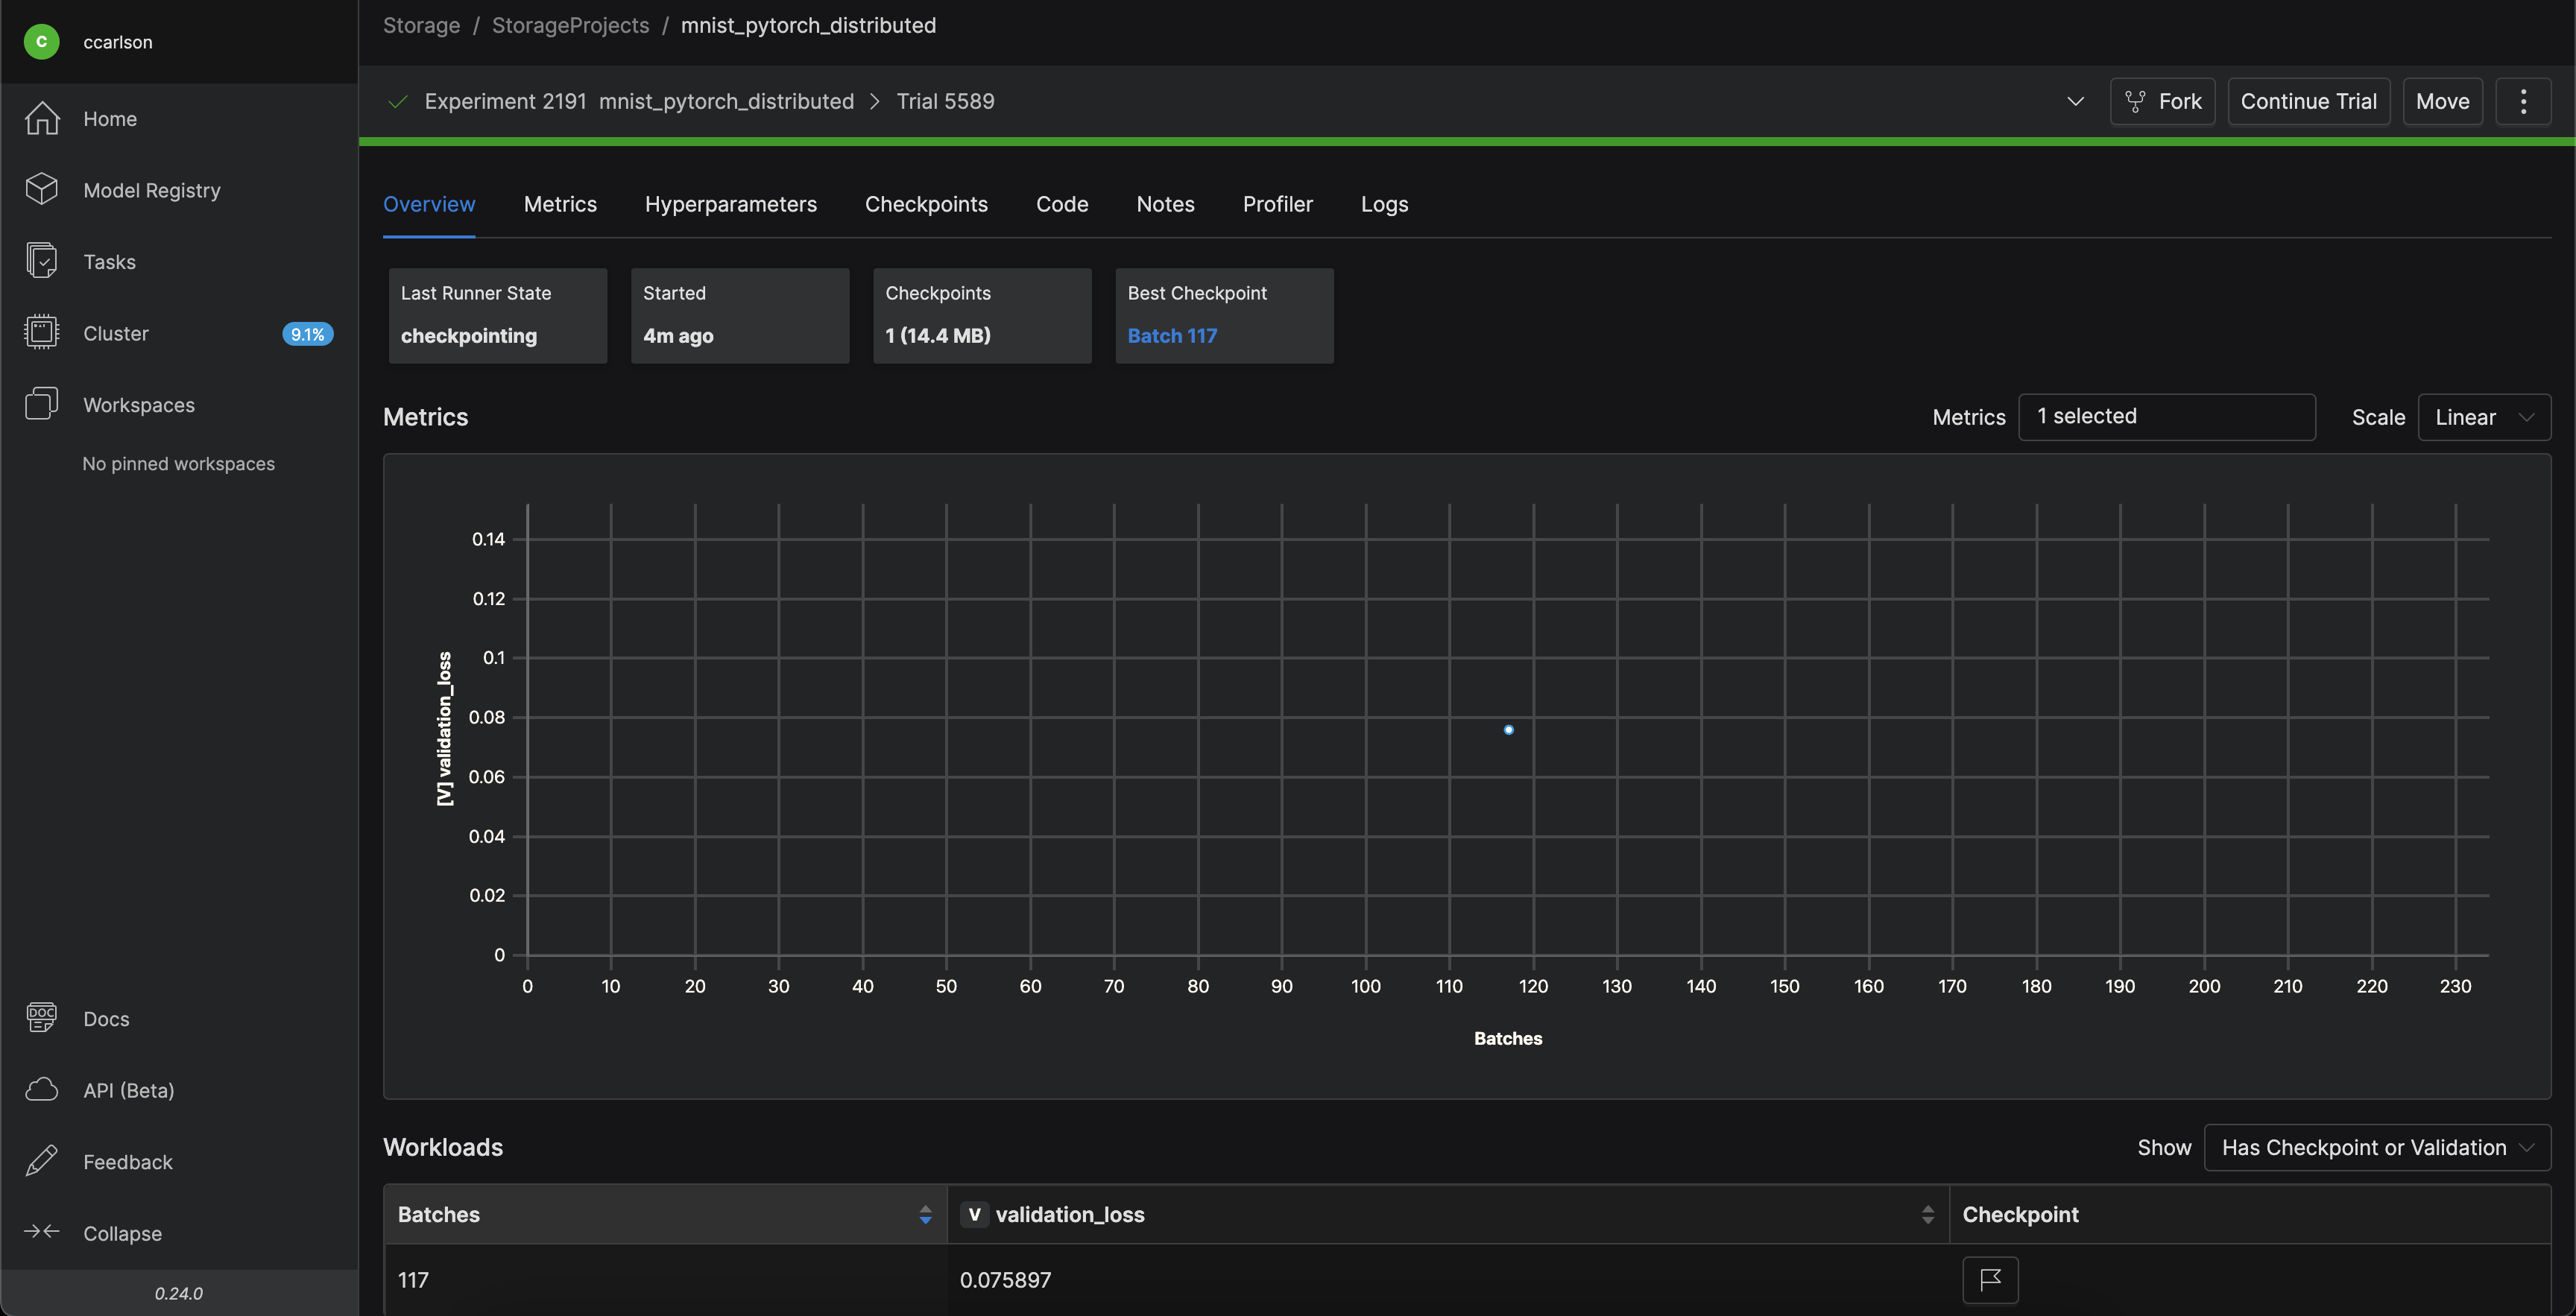
Click on your experiment and you should see details regarding validation loss, metrics, etc:
