OpenSUSE Linux Installation
Install openSUSE (OSS) Leap 15.5 from HTTP web server using virtual media mount from iLo
You can find the Leap distribution downloads here:
See original OSS install documentation:
VNC/GUI Install Guide
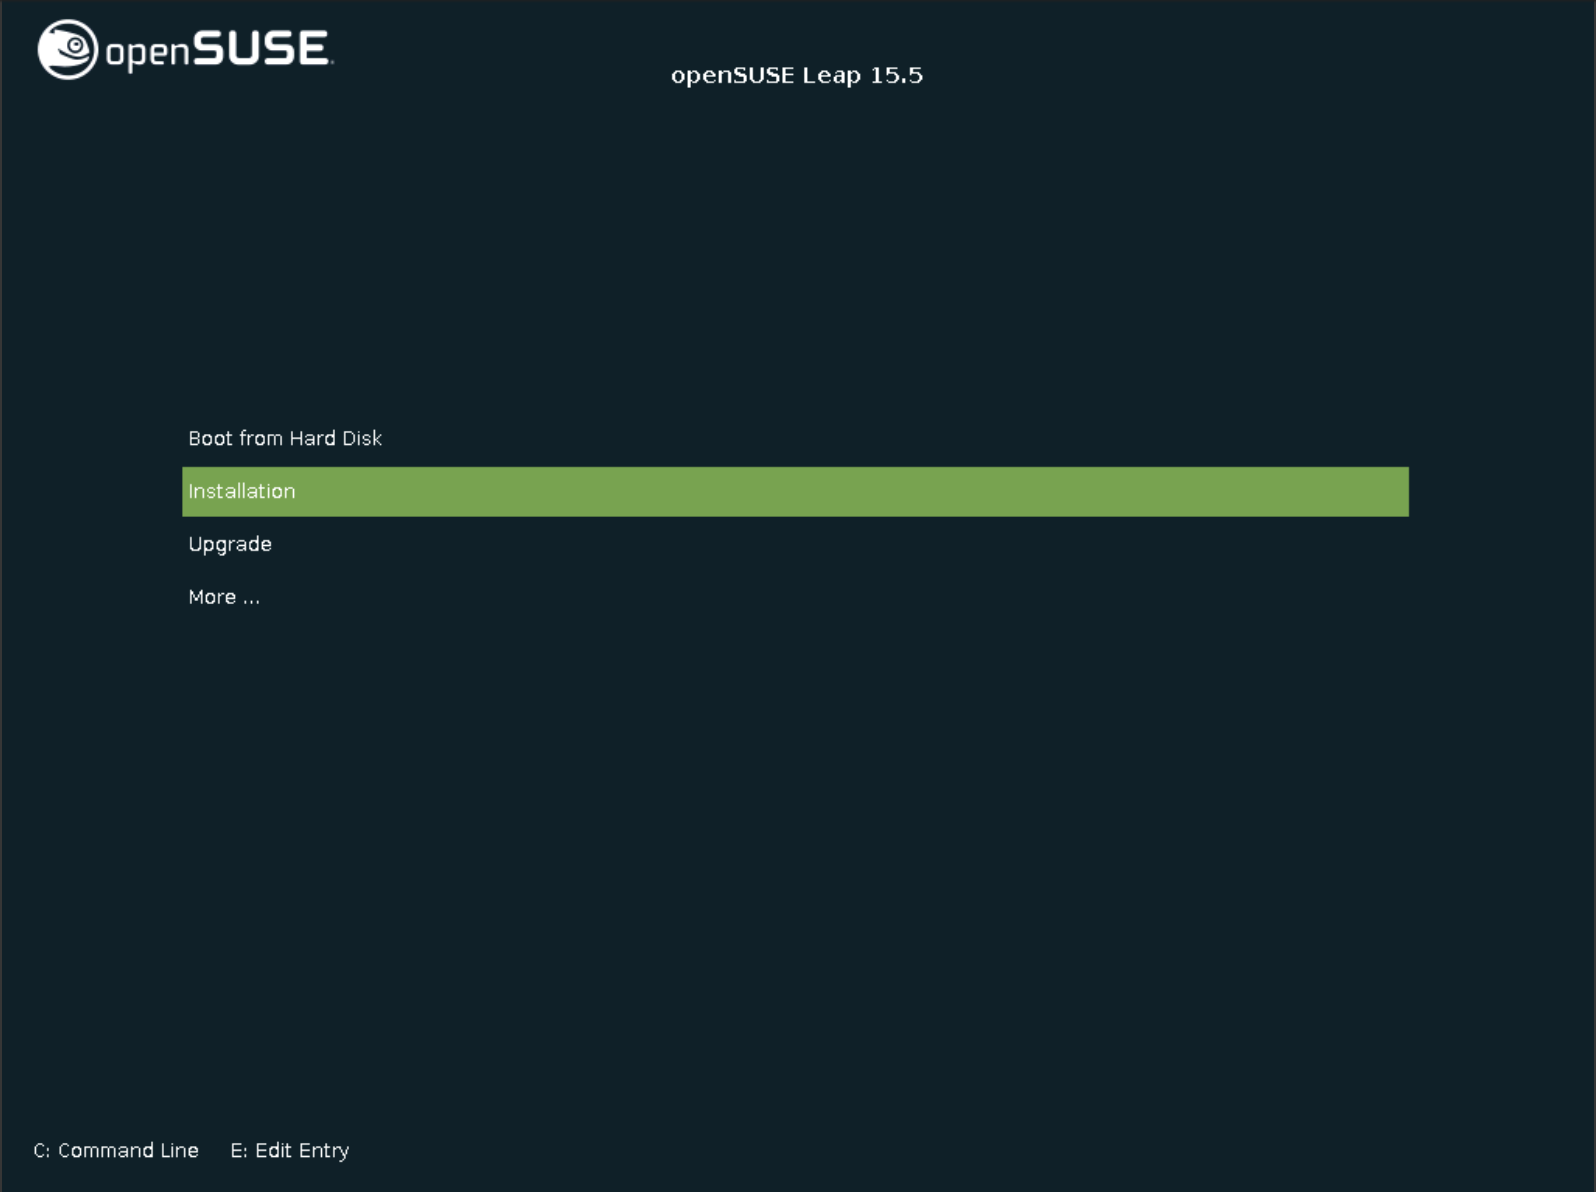
Once you’ve booted the live CD, you’ll need to manually walk through the process of configuring your OSS Leap 15.3 distribution. In this guide we’re just using the node’s iLo BMC HTML5 console to walk through the installation process.
Choose "Installation".
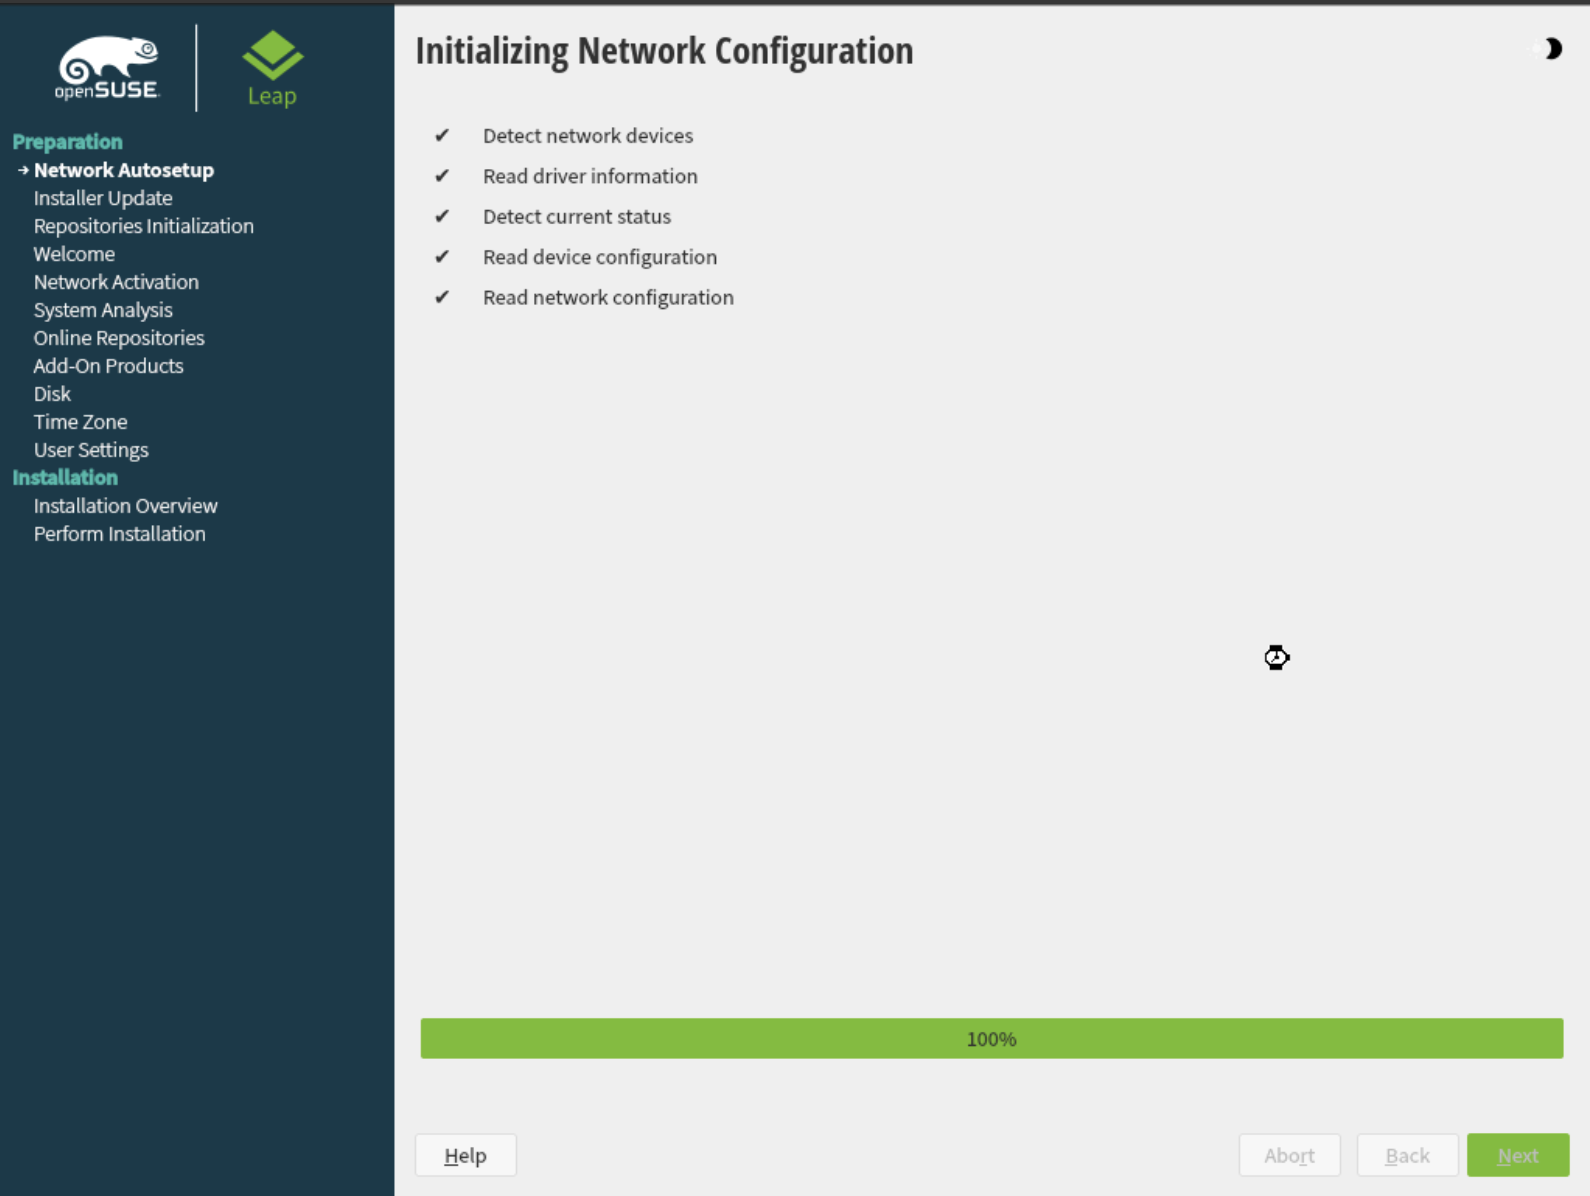
You should see it go through loading basic drivers, hardware detection, etc.

After this is done, it moves to initialize basic networking configuration.
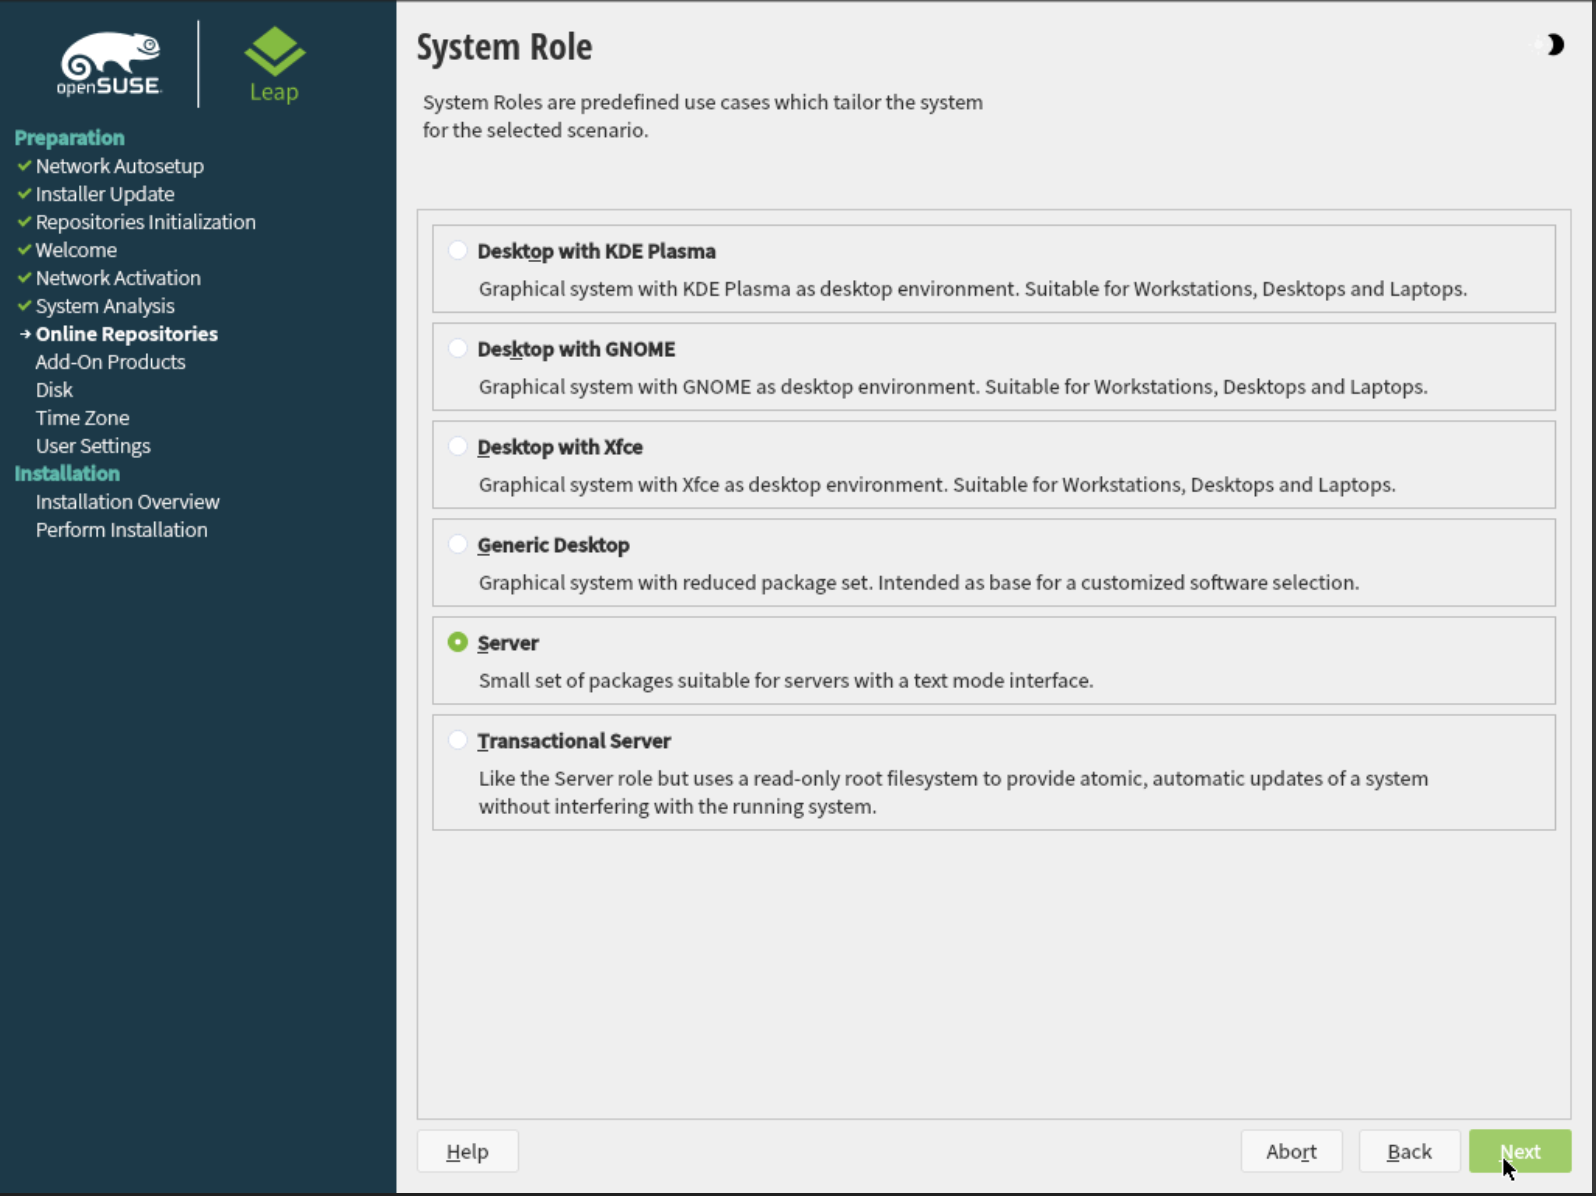
Eventually, it will ask you what type of installation we want. We’re going to be using a headless server setup,
so choose Server:
Next, it’s will suggest a partitioning scheme based on what it sees already on the disks.

We want to choose our own partitions, though, so choose "Guided Setup". It will then ask you to select your hard disk.
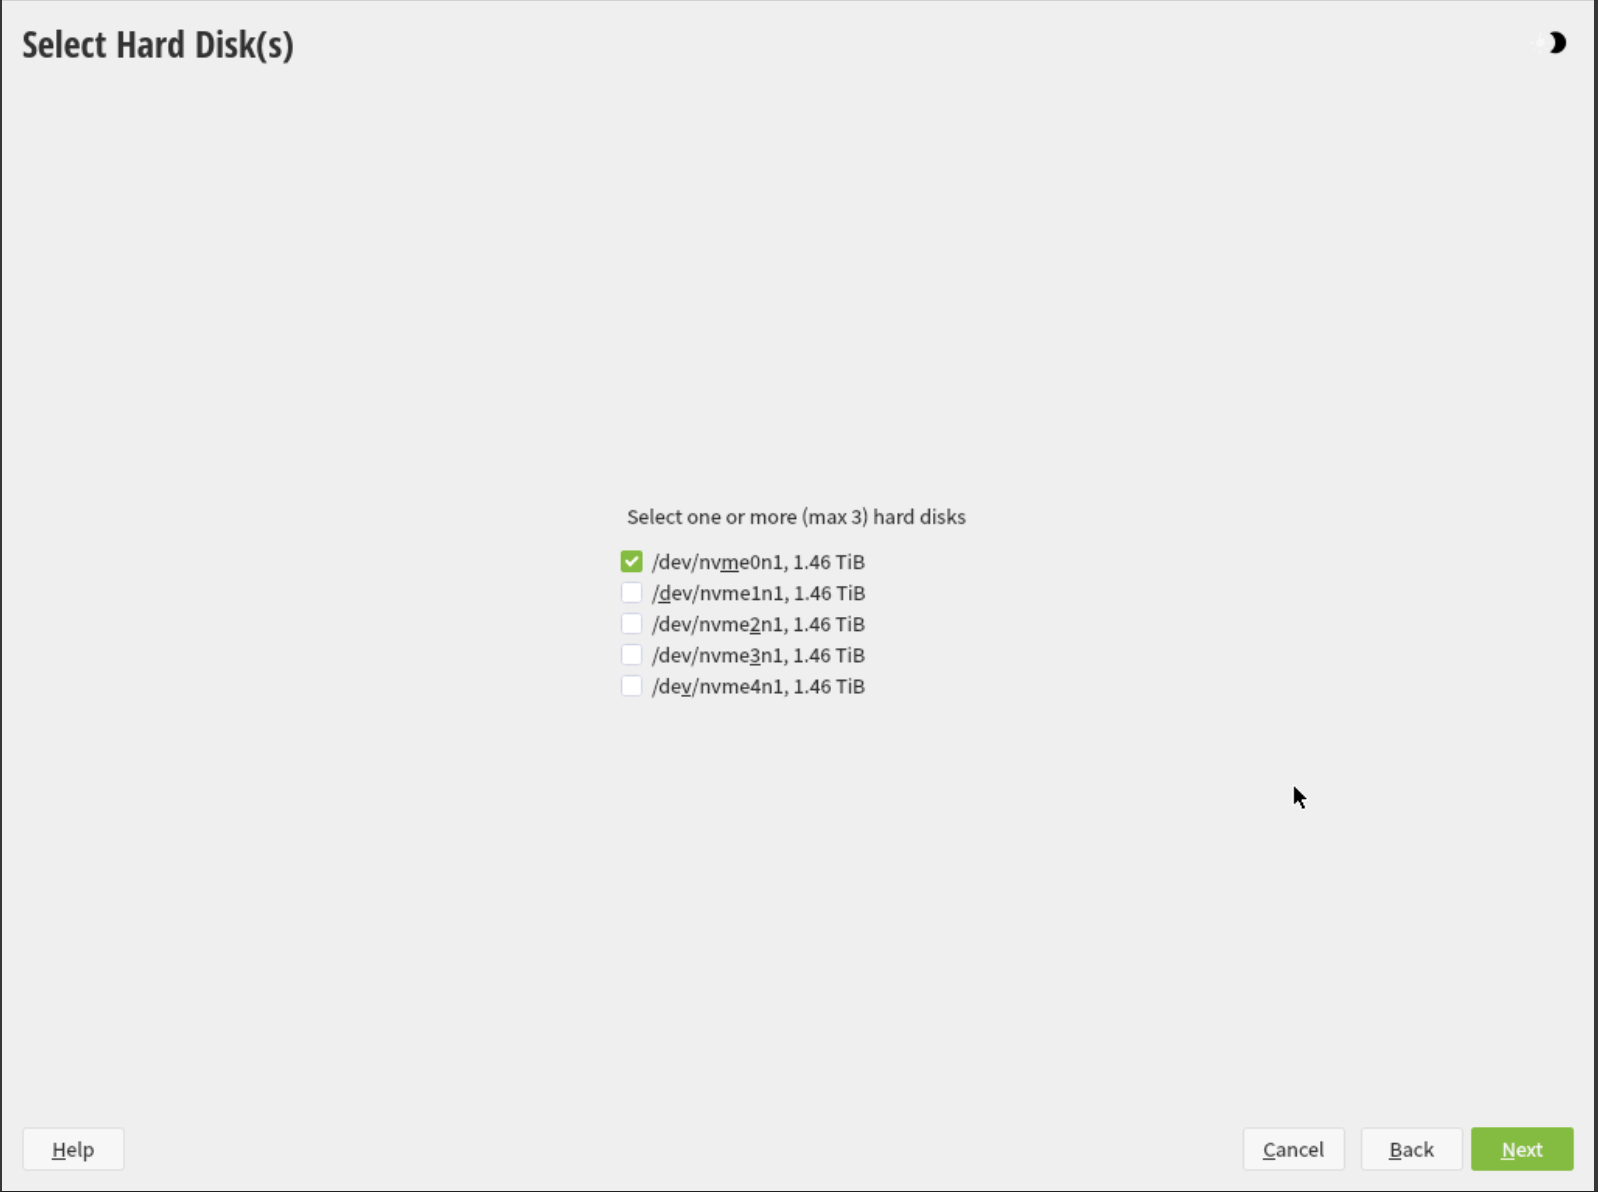
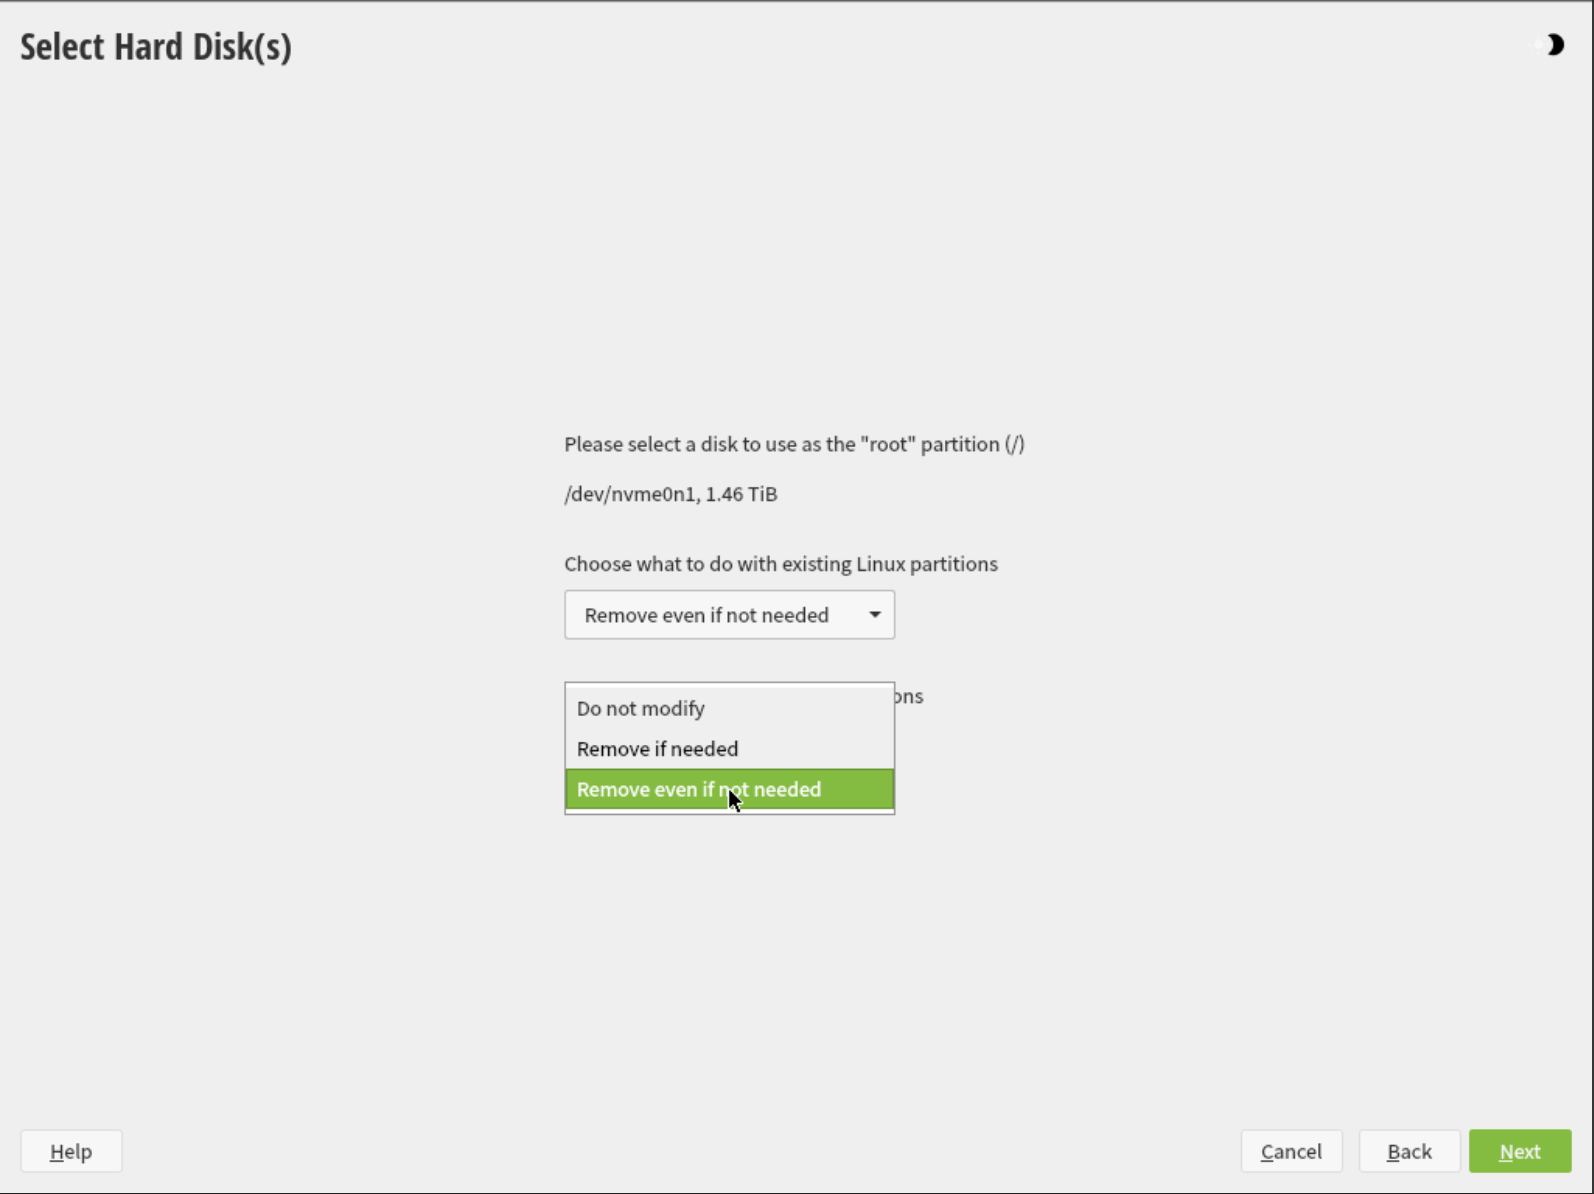
Choose the /dev/nvme0n1 drive and click "Next". It will then ask what partitions you want to create and what you want
to do about existing partitions. We want to remove them; we’re starting from a clean slate.
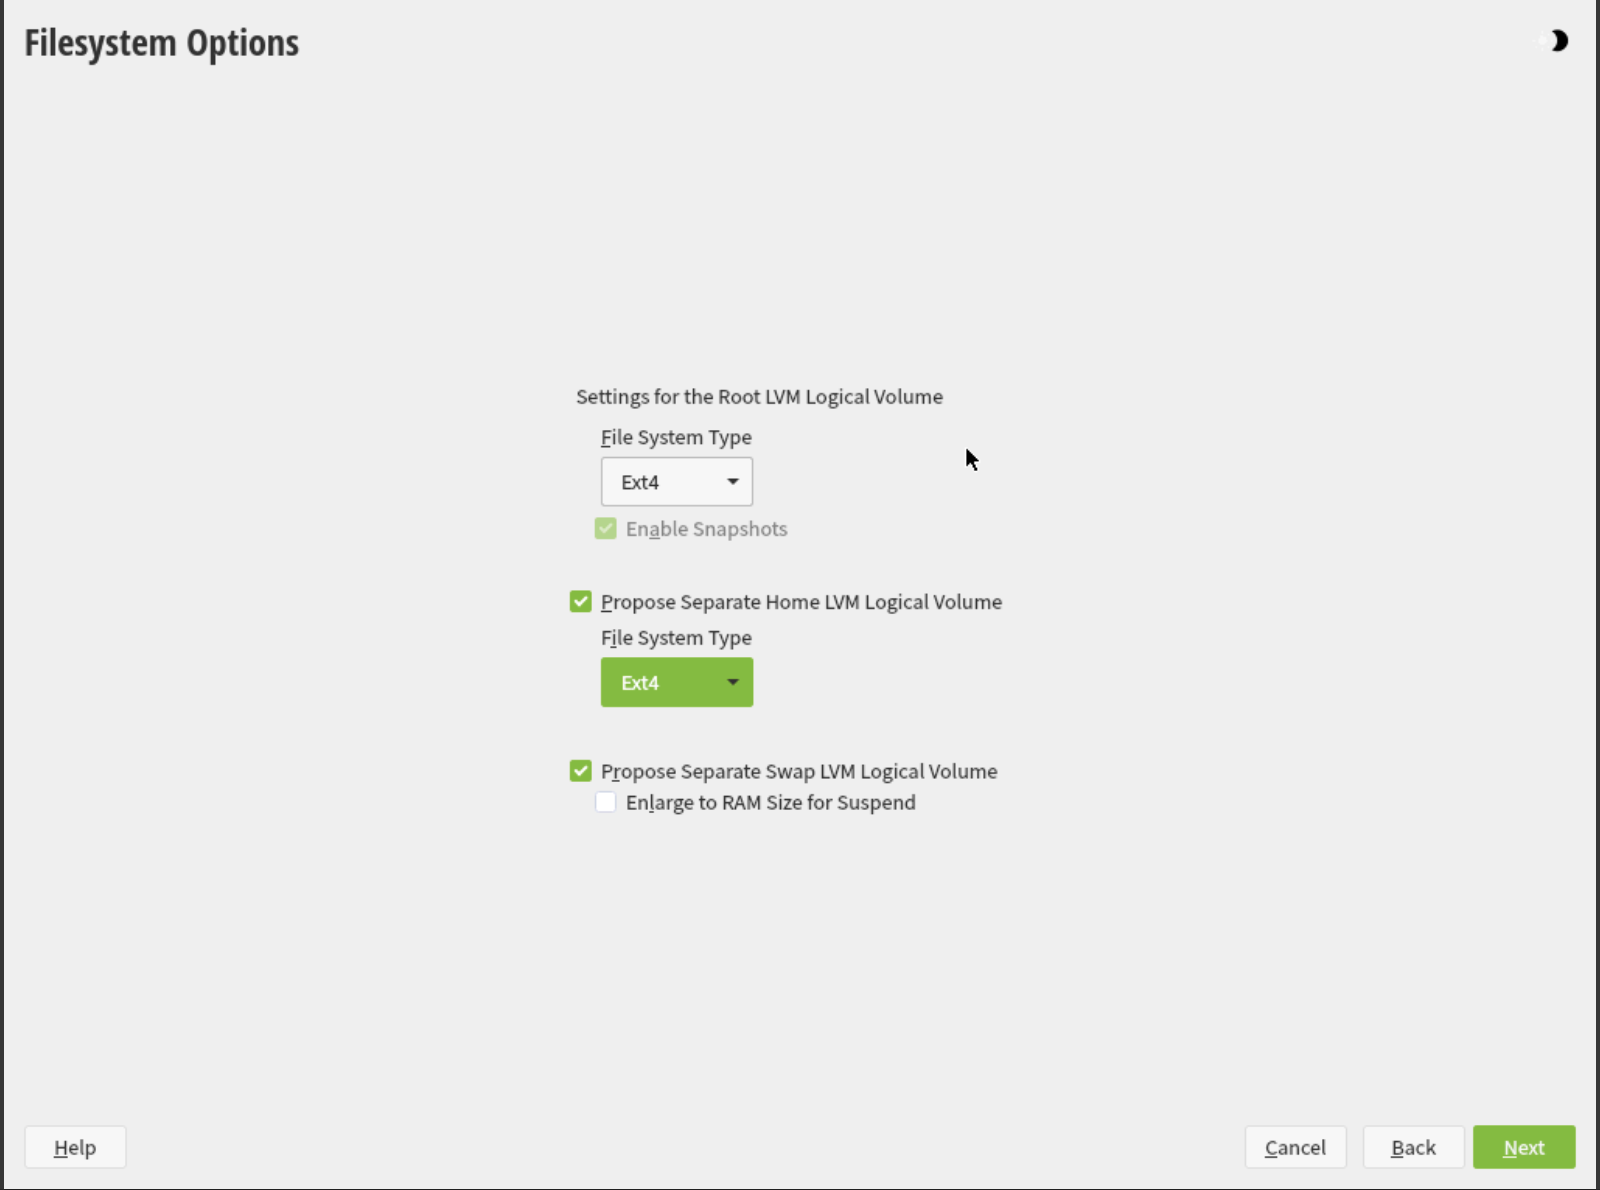
It should then ask you if you want to enable LVM, choose yes, and it will then ask you what filesystem type you want your partitions to be. Here we chose EXT4, but it’s up to you if you want that or BTRFS.
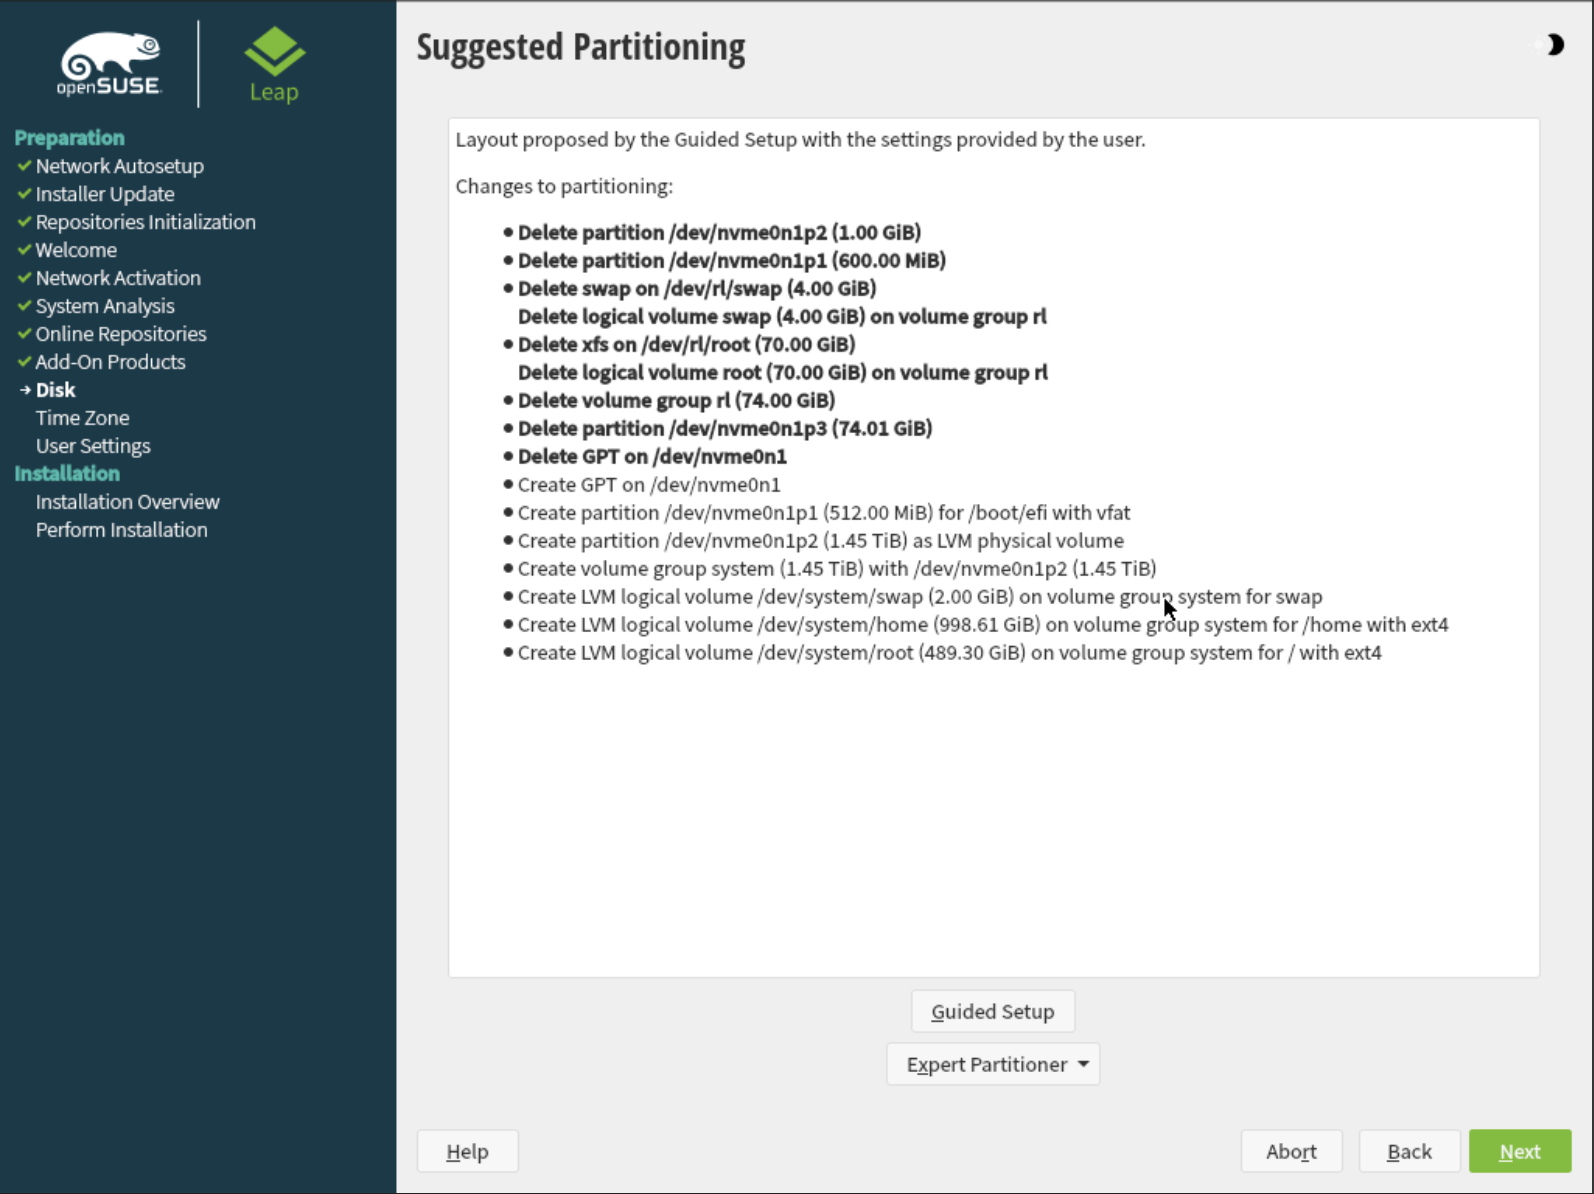
Lastly, it will show you a list of what it’s going to do in order to set up your installation disk. Review this and click "Next".
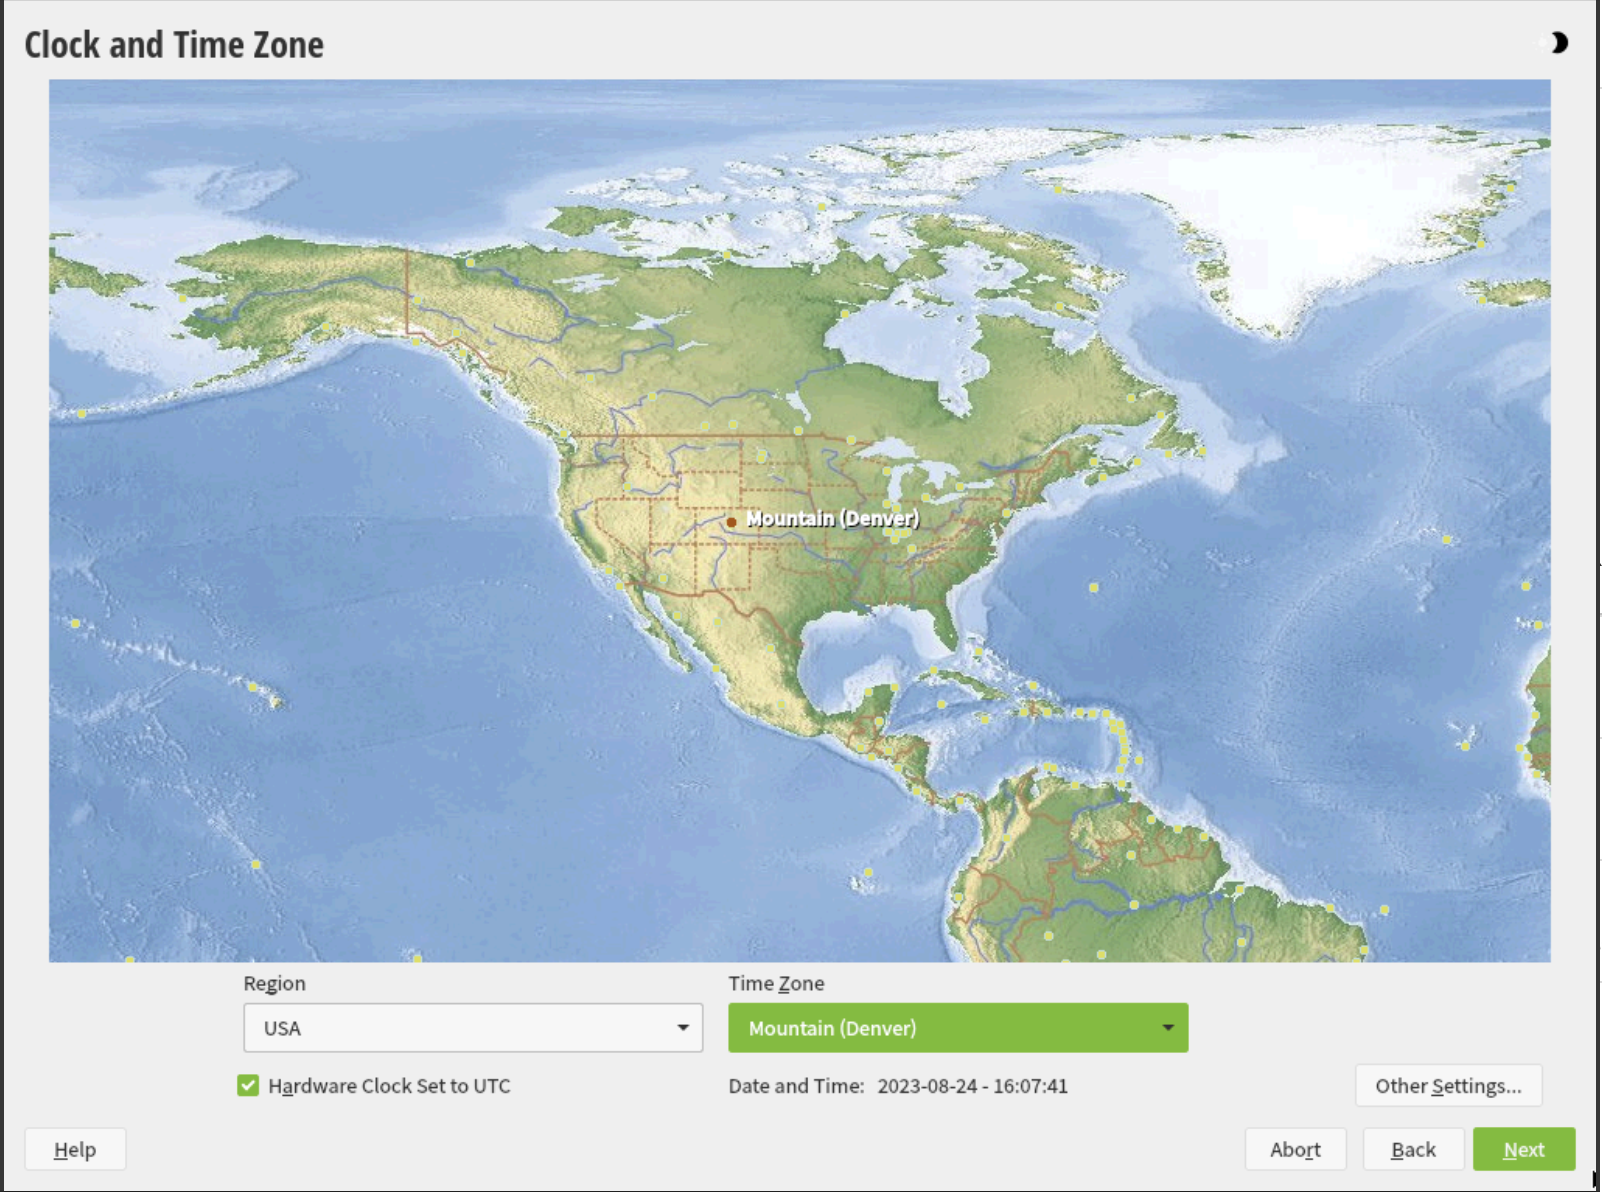
Select your timezone.
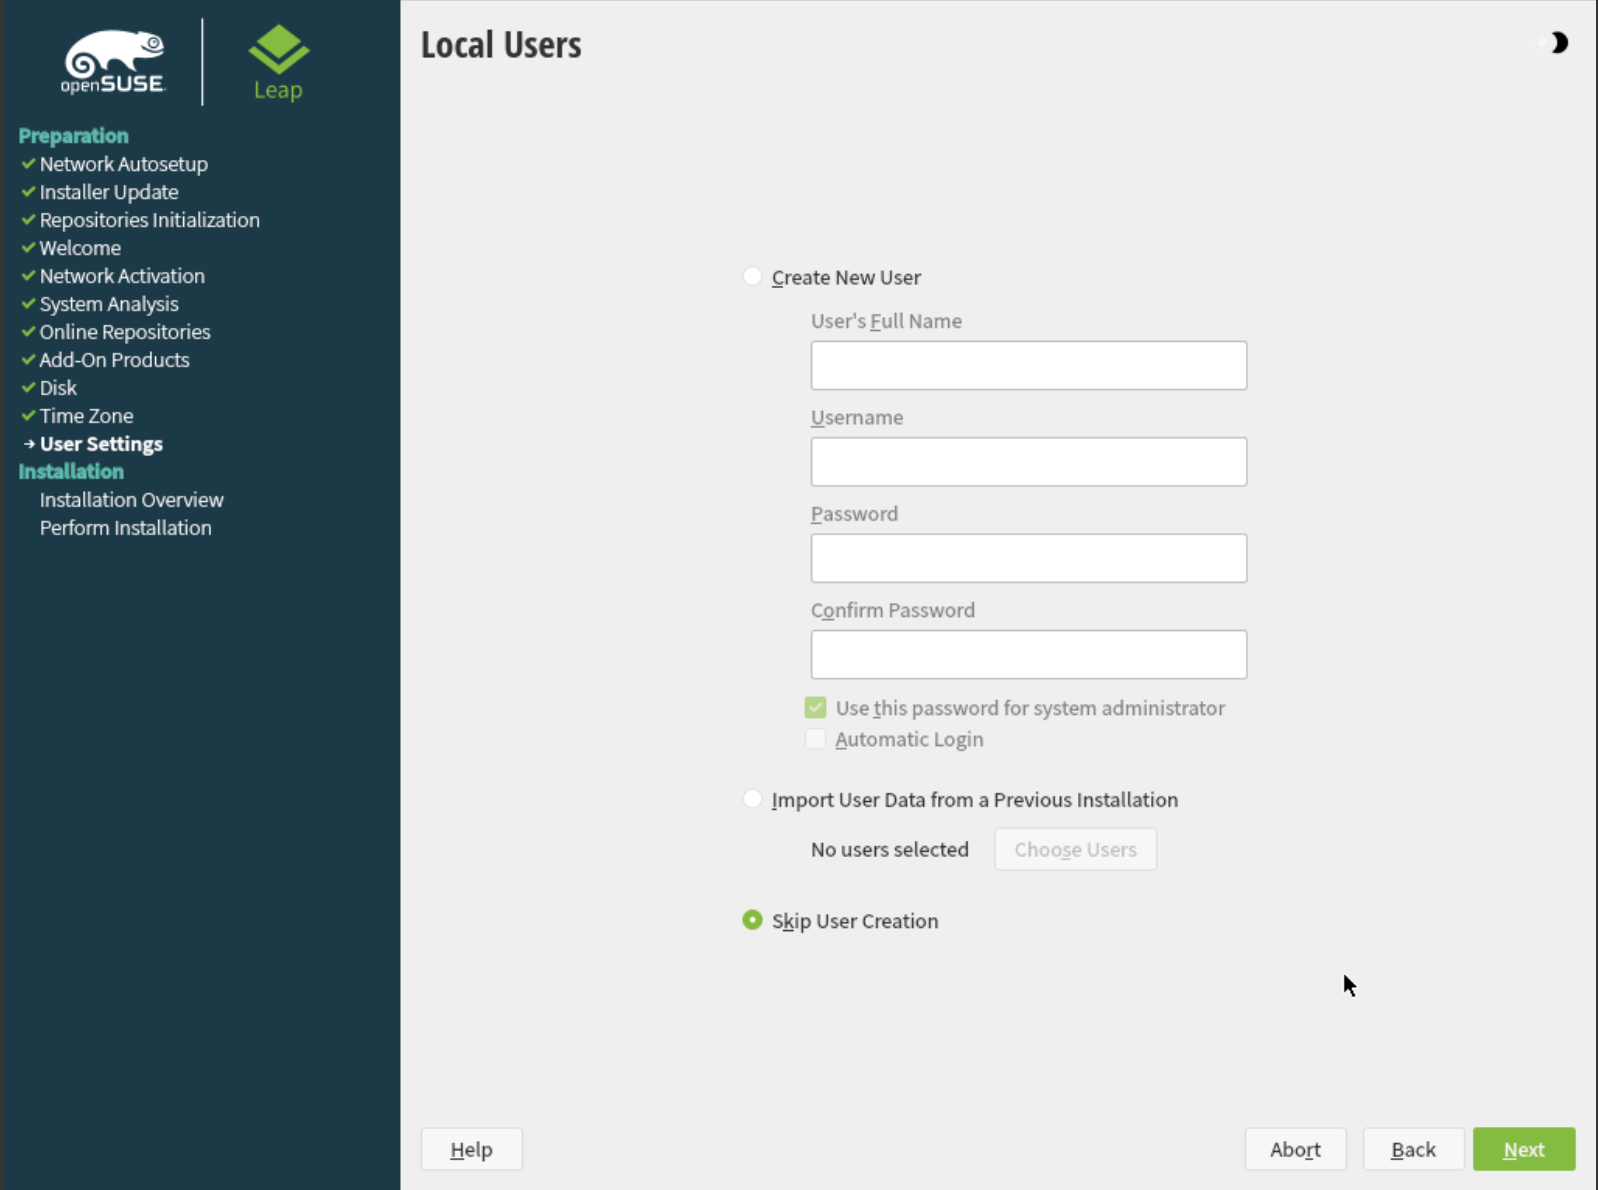
Set up a local user if you want. Here we opted to just stick with the root user.
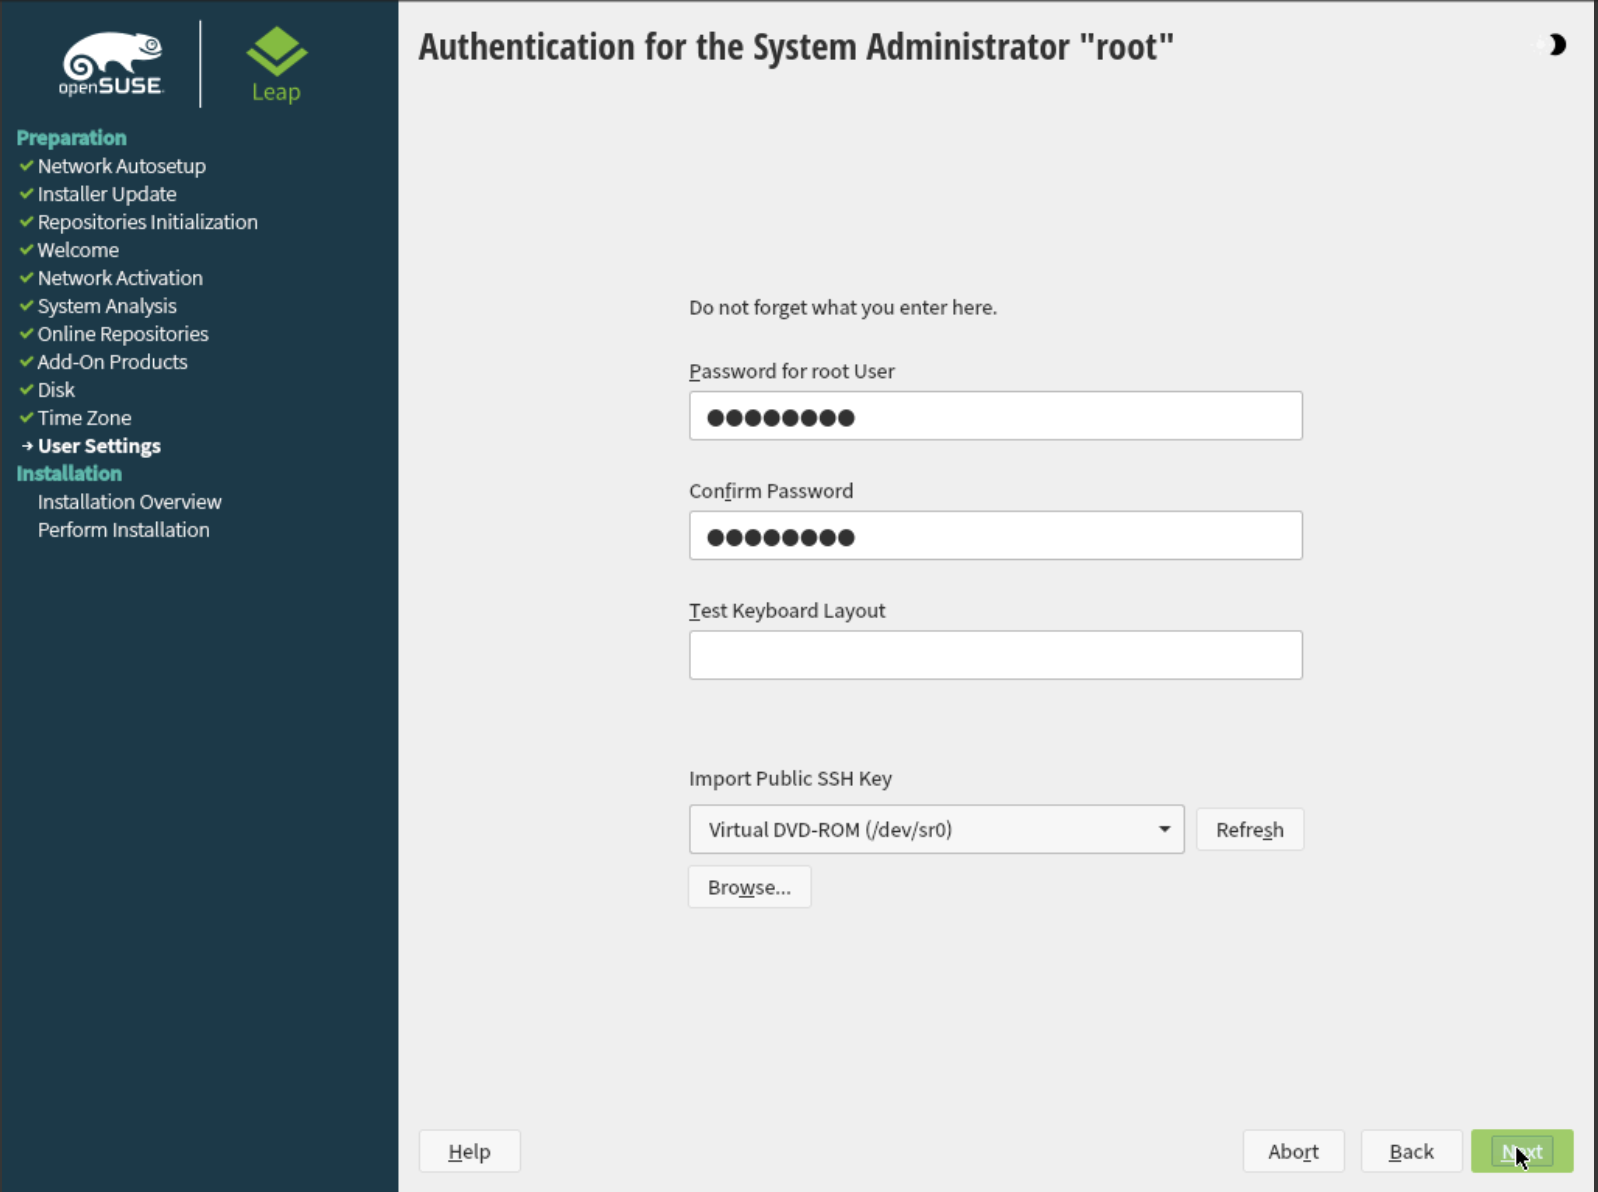
Configure a password for the root user.
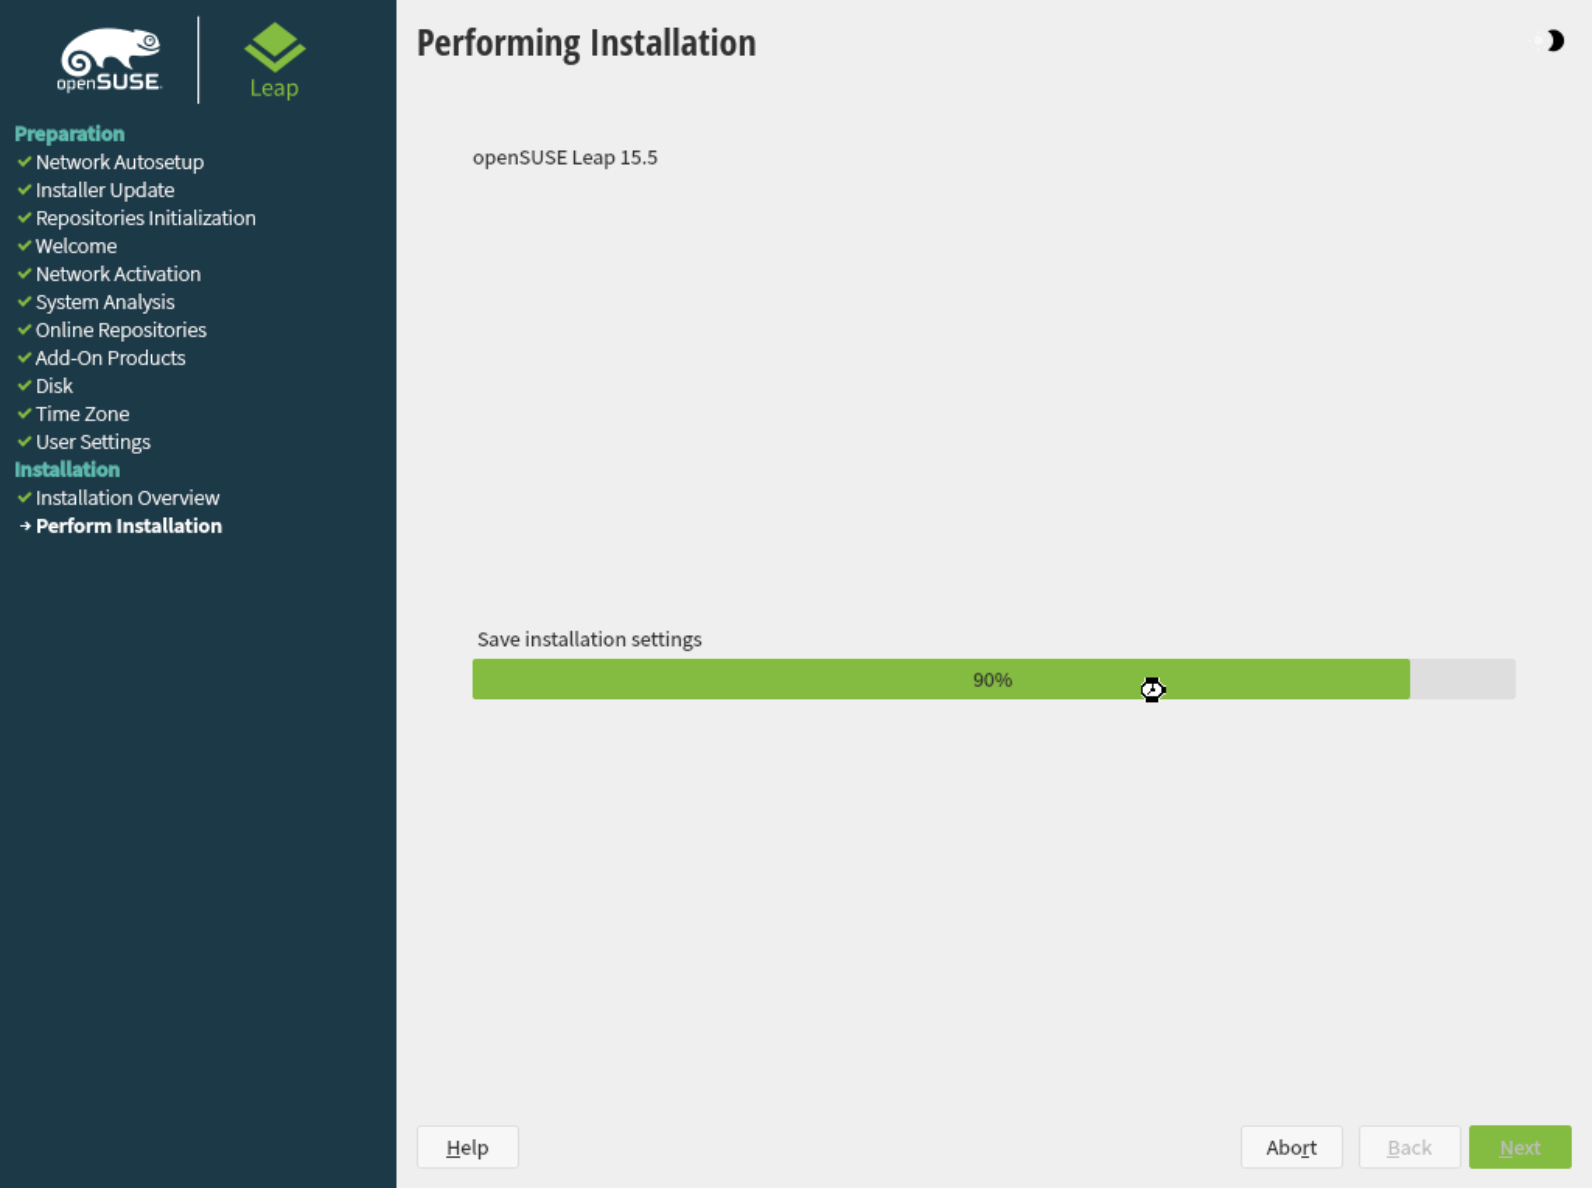
Review the final installation settings, then launch the install.

Your install should take a few minutes.
Once the installation finishes, the system will reboot, and you’ll be given a login screen.
Global proxy configuration
The global configuration file should look like the example below (please adjust TCP/IP addresses and Port numbers to match the environment)
Please edit /etc/sysconfig/proxy with the following proxy values:
PROXY_ENABLED="yes"
HTTP_PROXY="http://192.168.0.1:3128"
HTTPS_PROXY="http://192.168.0.1:3128"
FTP_PROXY="http://192.168.0.1:3128"
NO_PROXY="localhost, 127.0.0.1"