Rocky Linux Installation
Install Rocky Linux 8.6 from HTTP web server using virtual media mount from iLo
VNC/GUI Setup
Kickstart Configuration
RedHat Documentation:
RHEL distributions have a kickstart feature which allows you to provide a configuration file to automate install option selections.
This is equivalent to the autoyast.xml that OpenSUSE uses.
Doing a VNC/GUI setup will generate anaconda-ks.cfg kickstart file to the /root directory.
You can use this as a starting point/template for more installs by hosting it on an HTTP server, like http://10.214.131.45/kickstart and referencing that via the grub command-line parameters during boot.
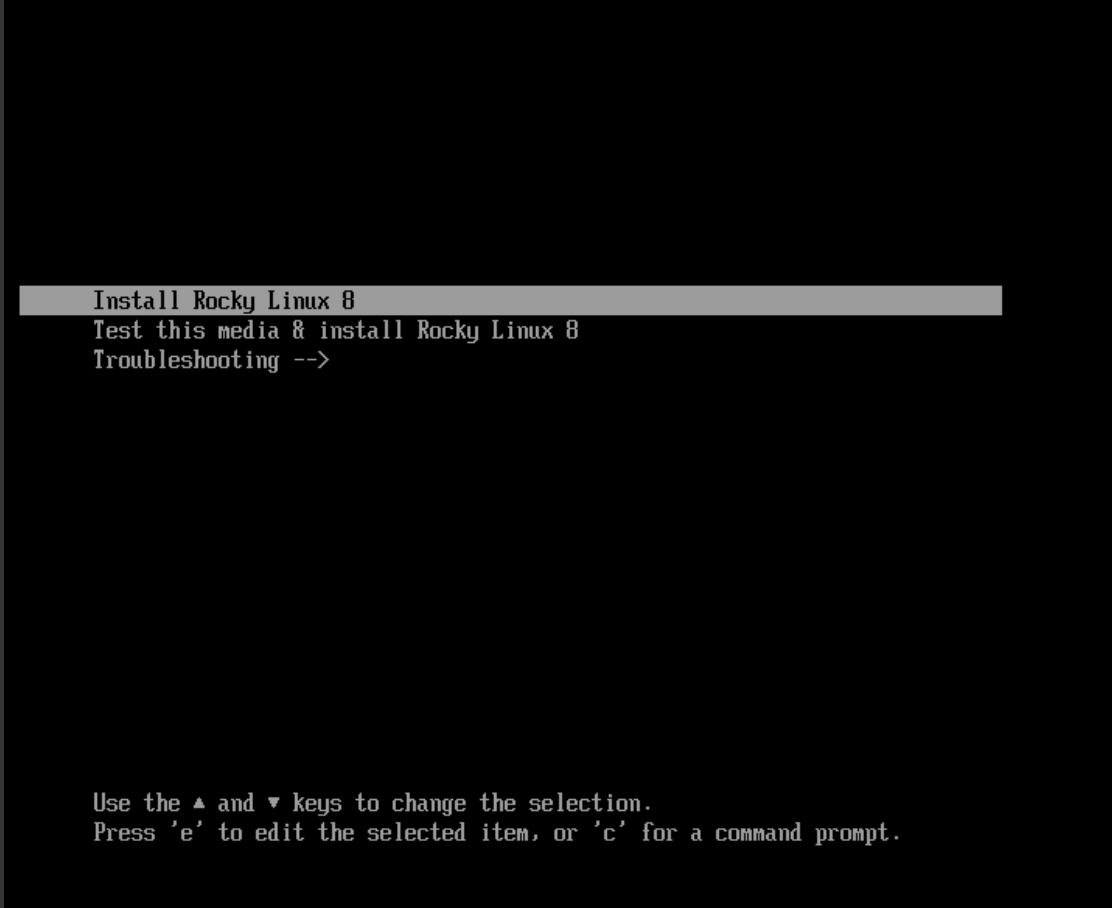
Boot via virtual media again, when you get to the grub prompt for Install Rocky Linux you can highlight it, hit e to edit:

then add boot parameters for the kickstart file and hostname: inst.ks=http://10.214.131.45/kickstart/rocky86nvme.ks hostname=mawenzi-06

| To fully automate it, embed kickstart file into ISO and have it boot that via PXE |
Kickstart Templates
Example kickstart template:
#version=RHEL8
# Use graphical install
graphical

repo --name="Minimal" --baseurl=file:///run/install/sources/mount-0000-cdrom/Minimal

%packages
@^minimal-environment
kexec-tools

%end

# Keyboard layouts
keyboard --xlayouts='us'
# System language
lang en_US.UTF-8

# Network information
network  --bootproto=dhcp --device=enp193s0f4u4 --onboot=off --ipv6=auto --no-activate
network  --bootproto=dhcp --device=ens10f0 --noipv6 --activate
network  --bootproto=dhcp --device=ens10f1 --onboot=off --ipv6=auto
network  --bootproto=dhcp --device=ens10f2 --onboot=off --ipv6=auto
network  --bootproto=dhcp --device=ens10f3 --onboot=off --ipv6=auto
network  --bootproto=dhcp --device=ib0 --onboot=off --ipv6=auto
network  --bootproto=dhcp --device=ib1 --onboot=off --ipv6=auto

# Use CDROM installation media
cdrom

reboot
eula --agreed

# Run the Setup Agent on first boot
firstboot --enable

ignoredisk --only-use=nvme0n1

# Zero the MBR, and clear all partitions
zerombr
clearpart --all --initlabel

# Disk partitioning information
# Create 3 partitions:
# - /boot     : XFS filesystem, on /dev/nvme0n1, size 1G
# - pv.297    : LVM filesystem, on /dev/nvme0n1, size 75G
# - /boot/efi : EFI filesystem, on /dev/nvme0n1, size 600M
part /boot --fstype="xfs" --ondisk=nvme0n1 --size=1024
part pv.297 --fstype="lvmpv" --ondisk=nvme0n1 --size=75784
part /boot/efi --fstype="efi" --ondisk=nvme0n1 --size=600 --fsoptions="umask=0077,shortname=winnt"

# LVM Physical Volume (PV) and Volume Group (VG) information
# Create volume group named rl, physical extent size of 4MiB using the pv.297 physical volume
volgroup rl --pesize=4096 pv.297
# Create swap Logical Volume (LV), with swap filesystem, sized to 4G
logvol swap --fstype="swap" --size=4096 --name=swap --vgname=rl
# Create root LV, with XFS filesystem, sized to 1G and allow it to grow
logvol / --fstype="xfs" --grow --size=1024 --name=root --vgname=rl

# System timezone, use HPE's lab NTP servers
timezone America/Denver --isUtc --ntpservers=16.110.135.123

# Root password
rootpw --iscrypted $6$8ECDqlb/TngydIOy$OXaf2ohWd8V9ze0JqNA04UPSzBCk2d0EZ/VJ9Bw5xpSQD26J1FizadA7G3wrAt0Jlf50G7V3tP1p73yAeOMRX1

# Enable RedHat kernel dump
%addon com_redhat_kdump --enable --reserve-mb='auto'

%end

%anaconda
pwpolicy root --minlen=6 --minquality=1 --notstrict --nochanges --notempty
pwpolicy user --minlen=6 --minquality=1 --notstrict --nochanges --emptyok
pwpolicy luks --minlen=6 --minquality=1 --notstrict --nochanges --notempty
%end
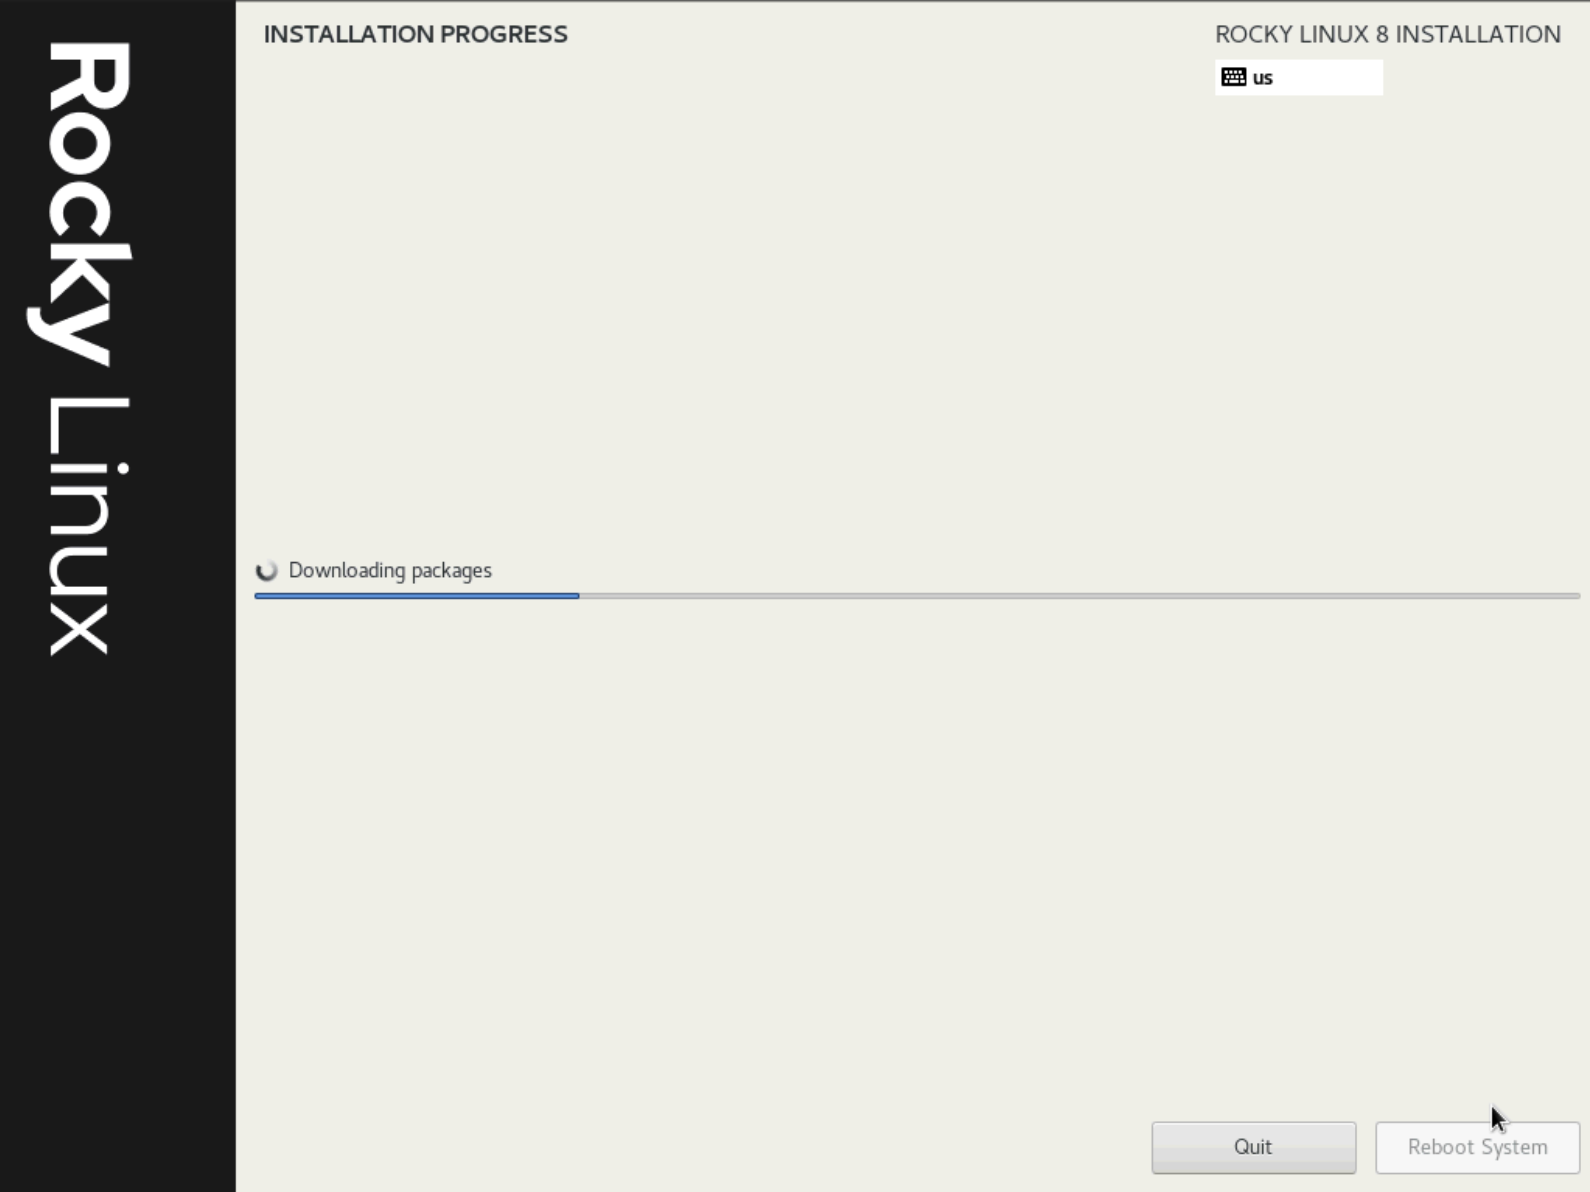
Once you’ve saved the configuration and continued booting via Ctrl + x,
you should see the installation screen:

Kickstart just gets you a running OS, then you can use Ansible for further configuration like secrets, environment variables, services, etc.
Ansible, Puppet, etc are usually post-OS install tools.
Disable Firewall
Disable firewalld
systemctl stop firewalld
systemctl disable firewalld
Disable selinux
setenforce 0